- Go to Settings section > Tokens tab
-
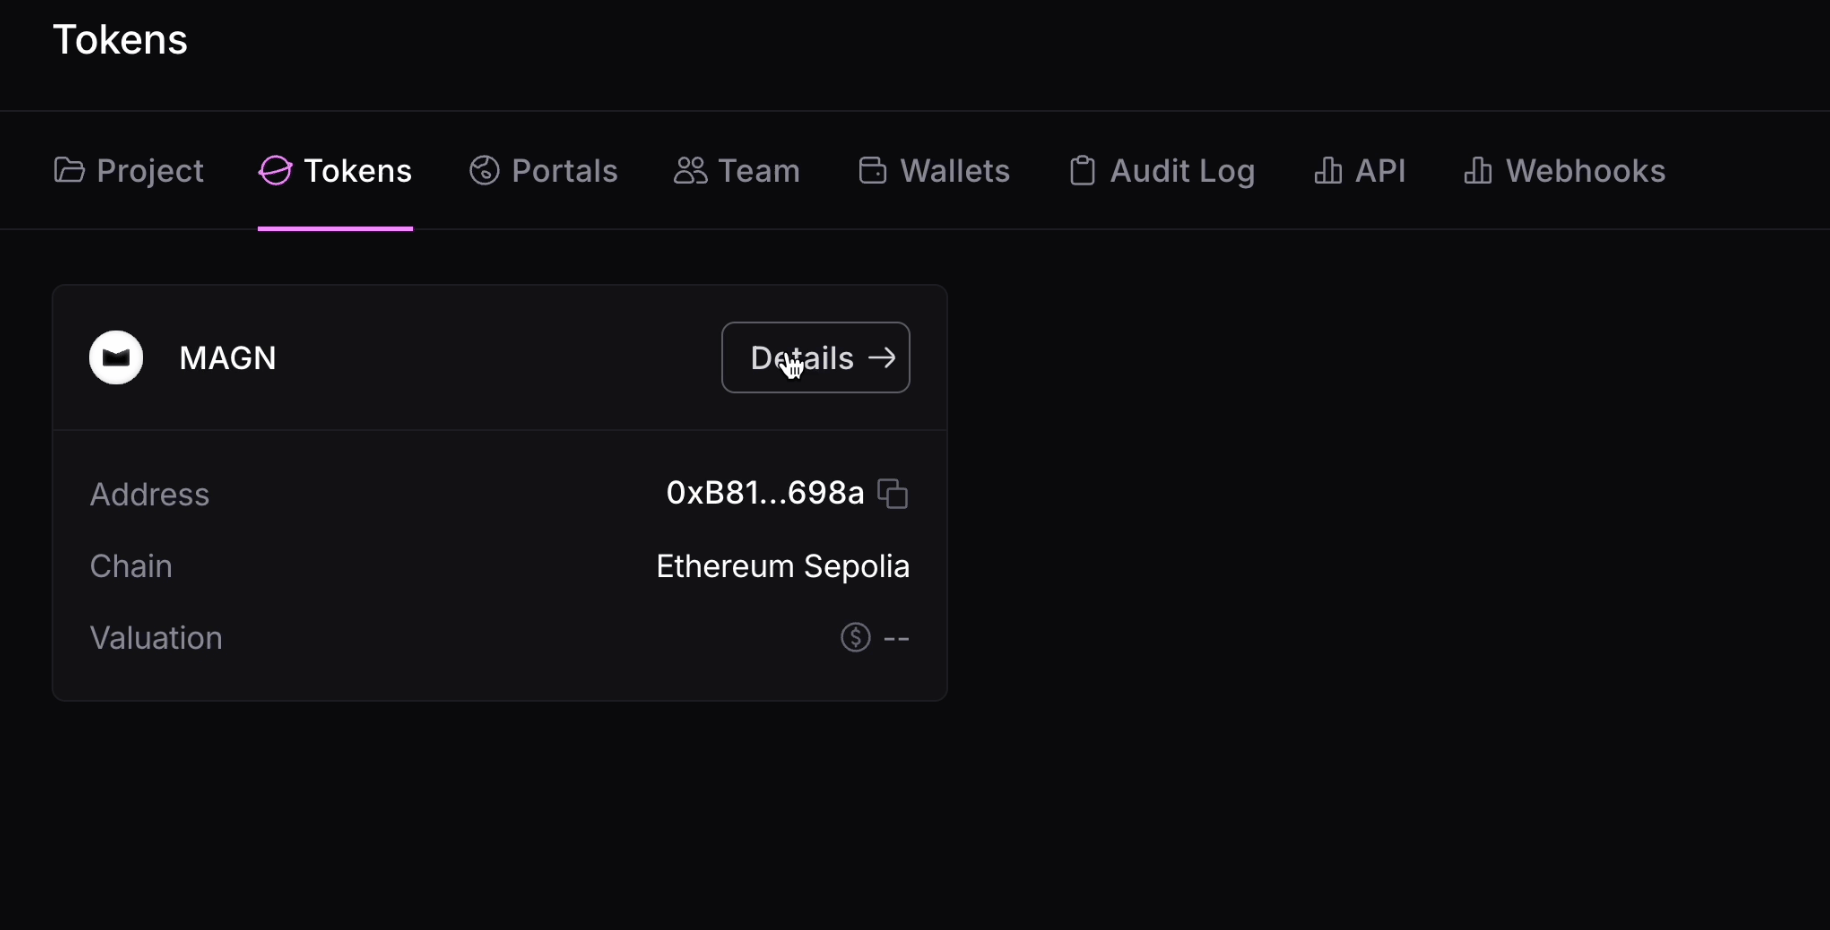
Click on the “Details” button within your token’s box.
Settings > Tokens tab
-
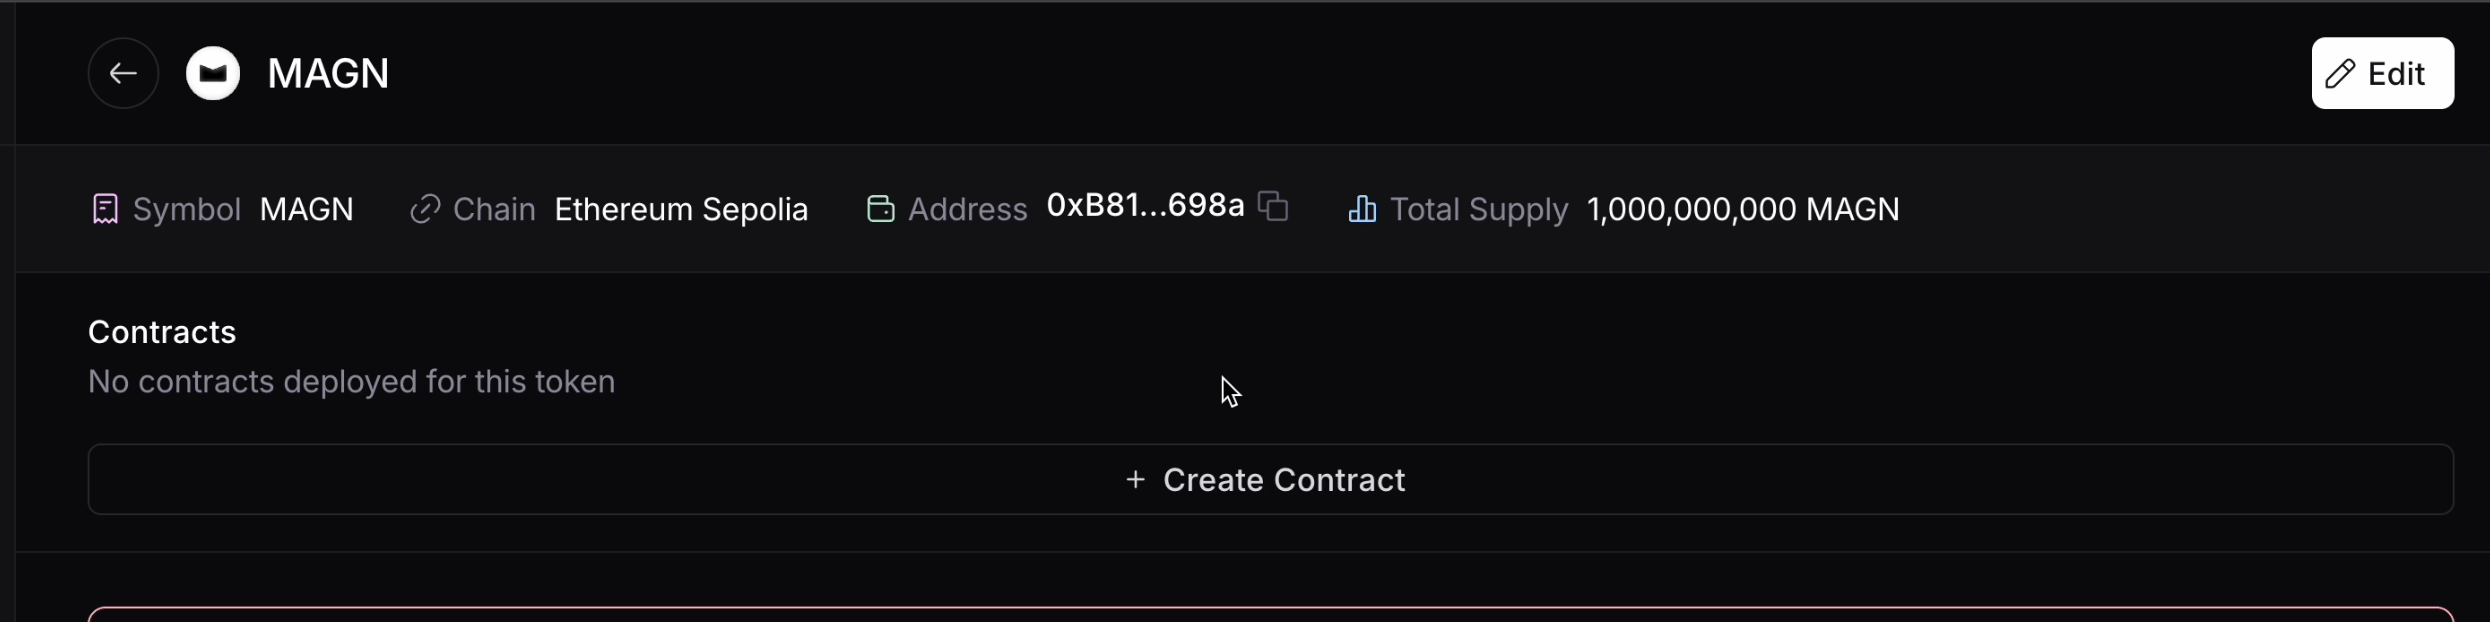
Click “Create Contract” and select the appropriate contract type depending on your needs.
-
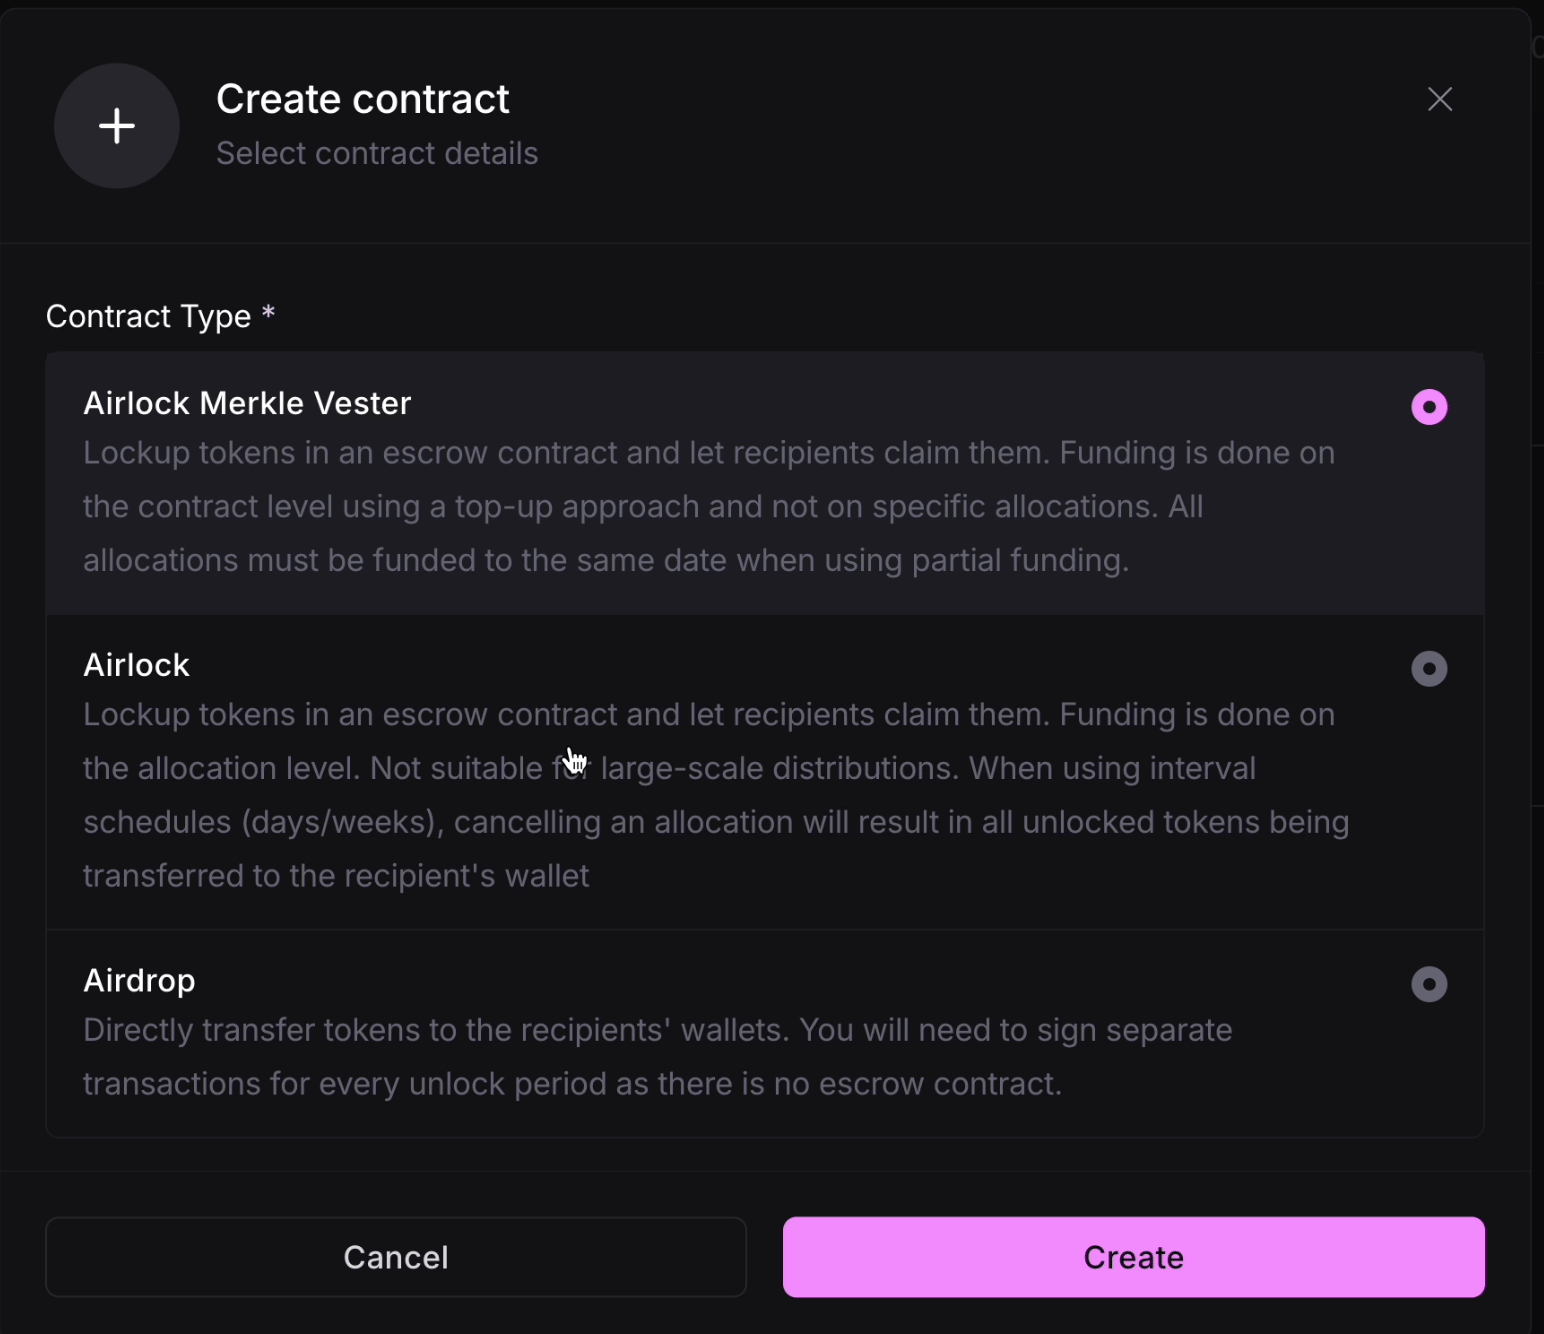
Review the descriptions for each in order to select the most appropriate contract type for your project.
- Airlock Merkle Vester is our latest-generation of contract that is Merkle-based. Tokens are deposited into the contract into a pool to be claimed by each allocation.
- “Airlock” is our previous-generation contracts which should be used only after discussing with us. “Airdrop” should be used if you don’t want on-chain vesting and want to transfer tokens directly to recipients.
-
Once your contract type is selected, click “Create” on the bottom right.
-
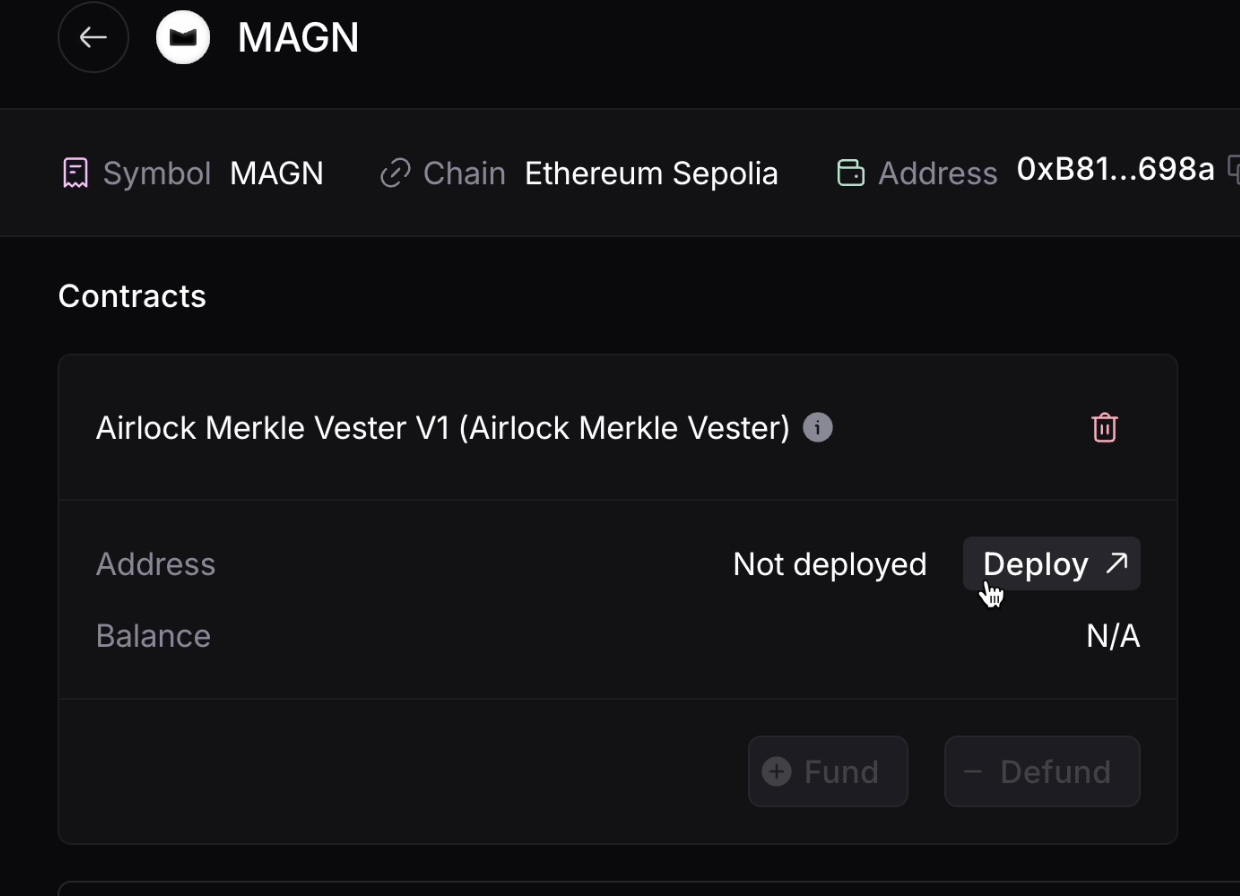
Click “Deploy” and then > click “Create” in order to create the Initialize transaction, which deploys the vesting contract. We will sign this transaction later.
- NOTE: If you have not added an Admin Wallet, you will be prompted to do so at this point. The admin wallet will be associated with this contract and will be required for signing all transactions.
Step 1: Set Up Key Project Details
Step 1D: How To Create A Vesting Contract
See demo video within this link.